|
XS |
S |
S |
M |
M |
L |
L |
XL |
XL |
2XL |
2XL |
3XL |
3XL |
4XL |
4XL |
| US Size |
2 |
4 |
6 |
8 |
10 |
12 |
14 |
16 |
18 |
20 |
22 |
24 |
26 |
28 |
30 |
| German Size |
34 |
36 |
38 |
40 |
42 |
44 |
46 |
48 |
50 |
52 |
54 |
56 |
58 |
60 |
62 |
| Bust |
33 |
34.5 |
36 |
37.5 |
39 |
40.5 |
42 |
44 |
46 |
48 |
50 |
52 |
54 |
56 |
58 |
| Waist |
26 |
27.5 |
29 |
30.5 |
32 |
33.5 |
35 |
37 |
42 |
44 |
46 |
48 |
50 |
52 |
54 |
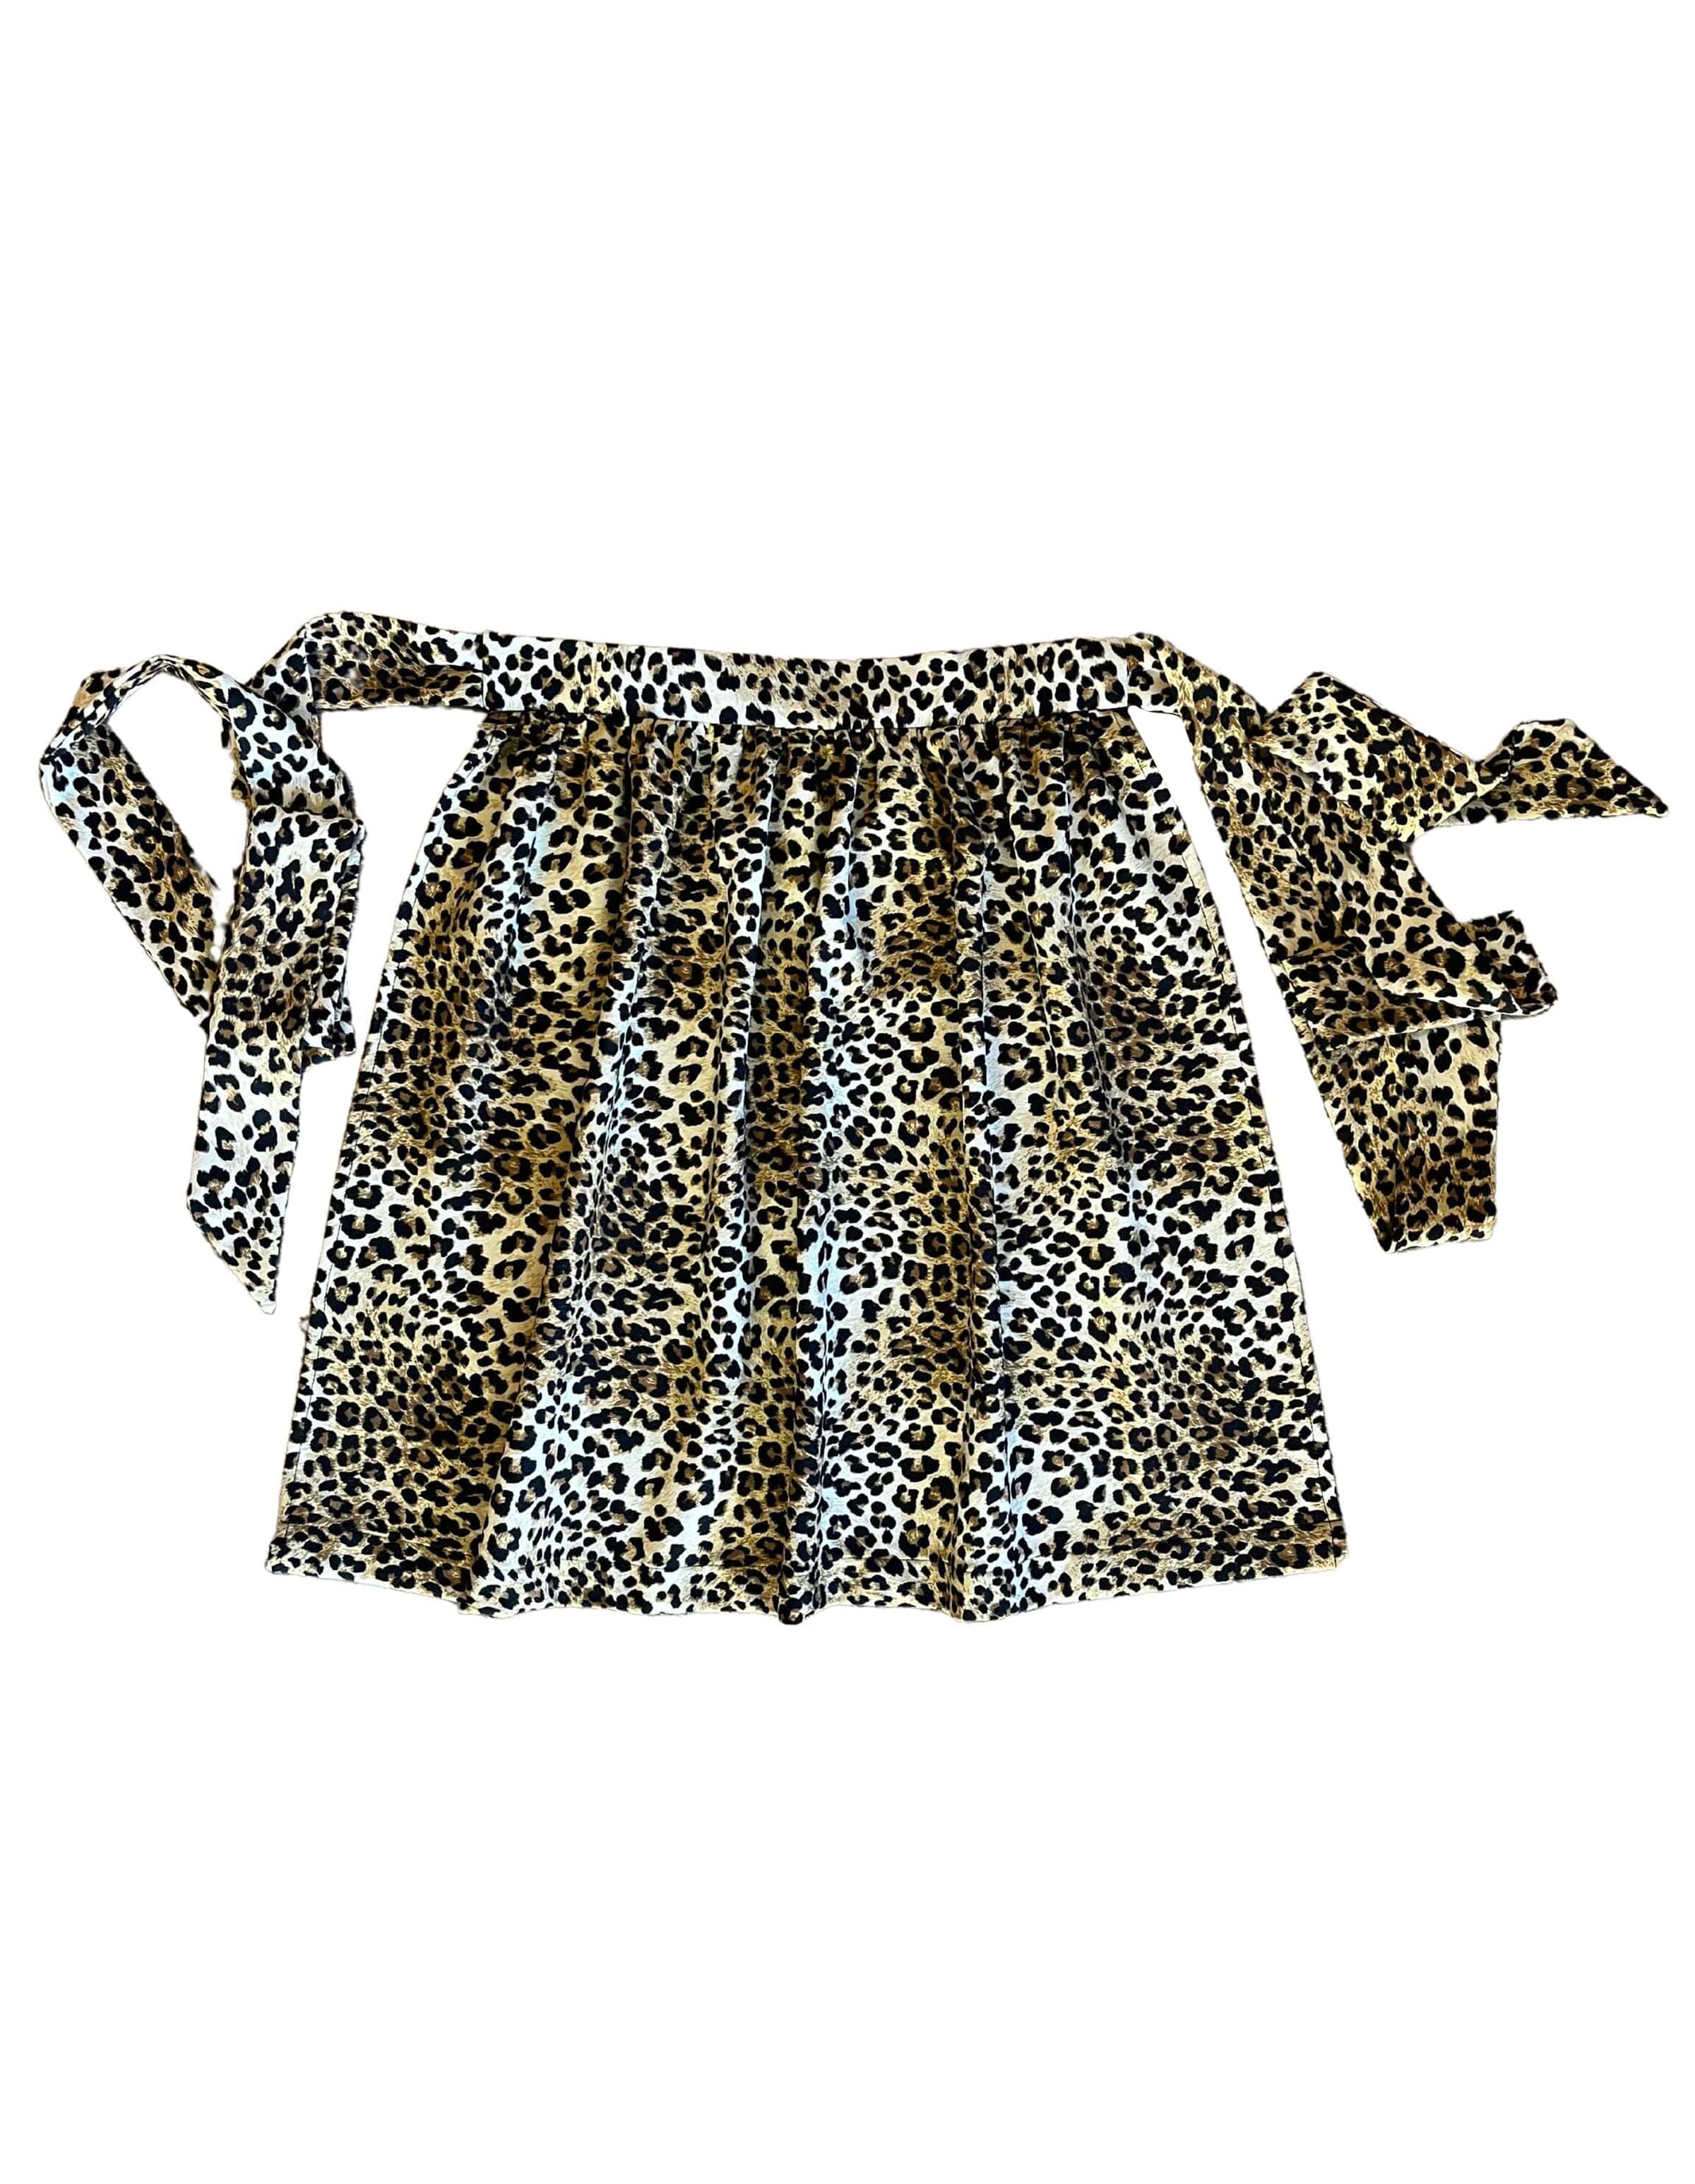
What size Dirndl should I order?
Determining which size dirndl will fit best should ideally be based around the bust and waist measurements.
For the bust measurement, you’ll want to take the measuring tape around the largest part of the bust (typically around your ribcage and across the center of your bust. For the waist, you’ll want to take the measuring tape around the smallest part of the waist… this is usually right around your belly button or a bit above it. Another way to find your true waist is to bend to one side… that bend is your waist.
Ok, I’m measured… now what? Ok, now check out the size chart (above)… Figure out where your measurements fall. Most people will NOT fit exactly into the size chart, and that’s OK!
We understand that everybody and every body is different. Typically it's easier to take a dirndl in than out dirndls are also made with alterations in mind.
If you need alterations made to your dirndl, we highly recommend you go to a seamstress or tailor in your area. It's very difficult for us to make proper alterations when we can not see the dirndl on you in person. Even if we just see photos, it is tricky business, so the best route would be to find someone talented in your area to help you get the perfect fit. We want you to feel the most beautiful and comfortable in your dirndl!
We also offer an Alteration Reimbursement Program. If your dirndl does not fit how you’d like and you have it tailored locally within 30 days of receiving your dirndl, we will reimburse up to $40 USD for the alterations.
If you have more questions about sizing for your Rare Dirndl, no worries. Click Here to get all your sizing questions answered by designer Erika Neumayer!